The reveal is a cue, not a decoration
A product launch lives or dies on one moment: the second the product is seen for the first time. Everything before it builds anticipation; everything after it is commentary. Teams spend weeks on the guest list and the catering and leave that single moment to a cue-and-hope on show day.
An LED wall gives you more control over the reveal than any other surface, because the screen can withhold what the audience sees, then surrender it on an exact frame. That is a production craft, not a design choice — it needs a defined sequence, a synced cue and a rehearsal. The mechanics start with rental LED screens built for event activations, sized to the room and driven by a playout system that can hit a frame.
This guide covers the reveal mechanics worth using, the timing that makes them land, and the masking and sync that decide whether the moment reads as engineered or accidental.
Three reveal mechanics, and when each one works
| Mechanic | How it reads | Best for |
|---|---|---|
| Countdown build | Anticipation climbs in numbers, then a hard cut to the product | Big-room launches where the audience is seated and waiting |
| Screen-to-object handoff | The screen shows the product, then light lifts to reveal the real object behind it | Physical products that need to be seen in the flesh |
| Veil / masking drop | A dark or graphic layer covers the wall, then clears to expose the reveal frame | Standing crowds; works without staging mechanics |
| Full-bleed transition | Content fills the wall, then wipes to a live camera or a second wall | Hybrid launches where the reveal must also work on stream |
Most launches use one primary mechanic — the handoff is the most reliable for a physical product, because it does not depend on the audience interpreting a graphic. The countdown works when the room is a captive audience; it falls flat in an open, standing space where half the crowd isn’t watching the screen yet.
Timing: the countdown, the hold, the cut
Three numbers decide whether the reveal lands. The countdown runs long enough to build but short enough to hold: several seconds of numbers reads as tension, more than that reads as stalling. The hold is the beat between the last cue and the reveal — too short and the moment passes before the audience registers it, too long and the room goes flat. The cut is the frame itself: one clean transition, no dissolve, no effect.
Lock the sequence to a master cue list, not to a verbal cue on the night. The reveal frame, the lighting state and the audio hit all land on the same timecode. If any one drifts, the moment reads as late — and a late reveal is worse than a plain one. Rehearse the sequence at full show level at least once, with sound up and lights live, before the room is full.
Masking and the black frame
What the screen does not show is as important as what it does. A dark graphic layer or a full black frame gives you a surface that can hold a logo, a countdown or nothing at all — and then surrender to the product in one cut. The temptation is to fill that frame with content; the discipline is to keep it empty enough that the reveal frame is the first thing the eye commits to.

Watch the brightness against the room. A wall run hot for a pre-show loop will make a dim reveal frame look dull by comparison, and the audience’s eye will have already adjusted to the brighter state. Dim the pre-show content progressively in the final minute so the reveal frame carries the contrast. Ask to see the reveal content on the actual panel, at the actual brightness, in the actual room — not on a reference monitor in a bright hotel room.
Sync: LED, audio and lighting on one cue
The reveal is a multi-system cue. The LED playout, the lighting desk and the audio playback must all fire from the same source, or the moment frays. The practical answer is a timecode lock across the three, with the LED wall’s processor slaved to the master rather than driven by a separate operator hitting space on a laptop.
Redundancy matters here more than anywhere else in the show. Keep a pre-rendered version of the reveal sequence as a single file that can play straight to the wall if the timeline fails, and keep a second media player cued and warm. The reveal is the one moment with no recovery window — a black wall during the countdown is a launch that visibly failed.
For the staging and screen build itself, the reveal sequence sits on top of a production plan covered in the guide to product launch technical production, where the wall, staging and crew are specified before the cue is written. Get the build right first; the reveal is the last layer on top of it.
Rehearsal and show calling
Write the reveal as a cue sheet, not a paragraph. Each line names the system, the action and the timecode: lights to state, audio hit, LED to reveal frame, then the product handoff. One show-caller reads the sheet and calls the sequence; nobody improvises on the night.
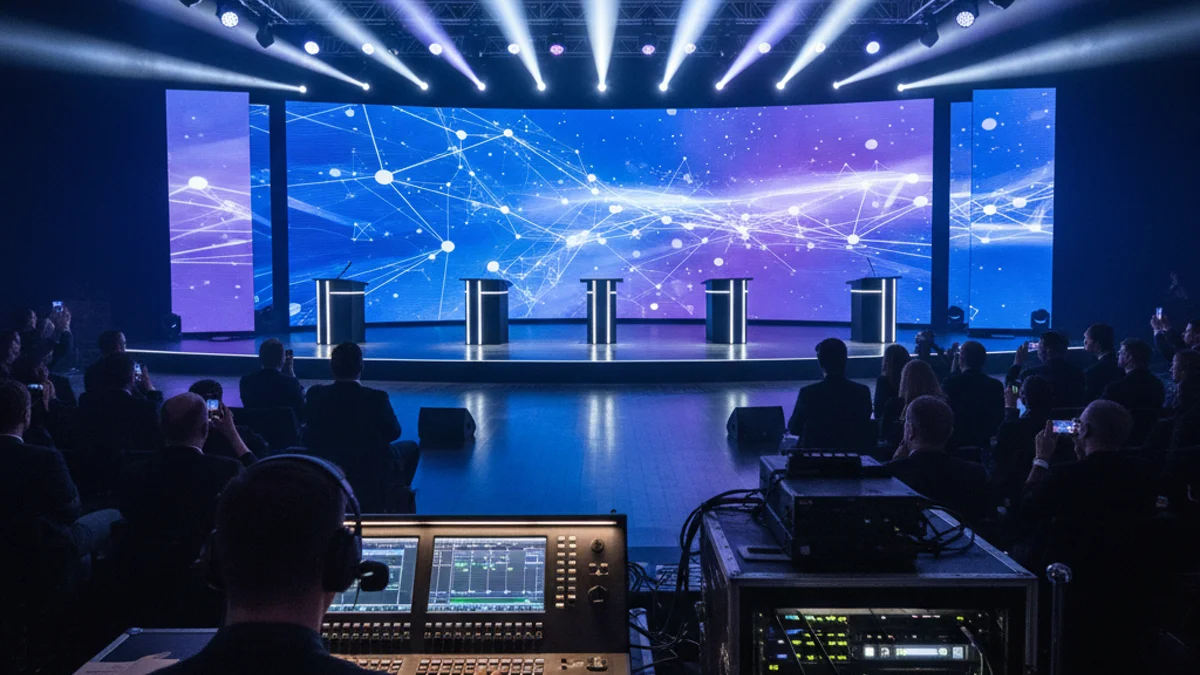
Run three passes: a technical rehearsal with systems only, a full rehearsal at show level with sound and light, and a cue-to-cue that isolates the reveal sequence and repeats it until it lands the same way twice. If it lands differently twice, the trigger is ambiguous — fix the trigger, not the performance.
The cluster of ideas around a launch event — from pre-show build to the post-launch moment — is worth planning as one arc rather than a single cue; the idea bank in product launch event ideas using LED walls covers the surrounding sequence. The reveal itself is where the technical craft concentrates.
Build checklist
- 30 days out — reveal mechanic chosen; wall sized to the native canvas; playout system confirmed capable of frame-accurate cuts.
- 14 days out — master cue list drafted with timecodes; reveal sequence rendered to a single backup file.
- Move-in day — wall built and calibrated; brightness set against the pre-show loop; timecode lock tested across LED, lighting and audio.
- Rehearsal — technical pass, full show-level pass, then cue-to-cue on the reveal until it lands identically twice.
- Show day — second media player cued and warm; show-caller runs the cue sheet; pre-show content dimmed in the final minute.
- Post-launch — the same wall carries the after-moment content so the product stays on screen, not stored.
FAQ
Do we need a stage mechanic to reveal a product, or can the wall do it?
The wall can do it alone with a masking drop or a full-bleed transition, no physical staging required. A screen-to-object handoff needs both — the wall shows the product, then light lifts to expose the real object. Pick the mechanic by whether the audience must see the physical product in the room.
How long should the countdown run?
Long enough to build tension, short enough to hold it. Beyond a few seconds, numbers read as stalling. The countdown is a build, not the reveal — the reveal is the cut that follows it, and that cut should be immediate.
What happens if the LED system fails during the reveal?
That is why the reveal sequence is rendered to a single backup file on a second, warm media player. The reveal has no recovery window: a black wall mid-countdown is a visible failure. Redundancy at the reveal is not optional.
Can the reveal work for a hybrid audience?
Yes, if the content is built for the camera as well as the room. A full-bleed transition that wipes to a live camera gives the stream its own clean reveal rather than a wide shot of a dark stage. Brief the reveal content to the stream frame, not only the venue wall.
Engineer the moment, don’t hope for it
A launch reveal is a cue like any other, and cues are built, timed and rehearsed. Choose the mechanic for the room, lock the sequence to timecode, keep the frame empty enough to land, and hold redundancy where there is no second take. Tell us the product, the room and the reveal you have in mind, and we will spec the wall, the playout and the sync so the moment reads as engineered. Request a quote and we will come back with a buildable sequence. For the audience-facing side of the same moment, see LED video walls for brand activations.